The Community Edition is a standalone program, which means a bit of fiddling in your workflow, because you have to leave Photoshop, run the noise removal, then return to Photoshop. If you do a lot of noise removal, you'll probably find it worthwhile to pay for one of the Photoshop plug-in versions (available on the same page).
Noise removal can be done at any (chronological) point in a non-destructive workflow - you can do it first, or last, or in between. What's important is that it's done on a layer immediately above the Background layer, underneath all of your adjustment layers.
For this tutorial, I will discuss using Noiseware as the very first step in the Photoshop workflow.
Of course, this tutorial only applies for jpeg files. If you shoot raw (and you SHOULD) use the noise removal sliders in your raw program. Step One
If you open a Jpeg file in Photoshop and decide it needs noise reduction, obviously you don't need to save it as a different jpeg just to run NR on it. Just mimimise Photoshop for now.
Step Two
Open the Noiseware Community Edition program, then click "Open" and find the jpeg file you want to work on. (Remember, if you started with a Raw file, you've saved a jpeg copy, so open that. If you started with a Jpeg file, just open that file directly.)
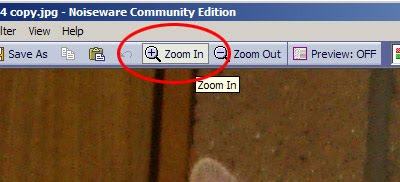
Once it's open, make sure you zoom in to view the pixels at 100% size, by pressing the "Zoom In" button as many times as necessary. The zoom size is displayed at the bottom right hand corner of the interface.
Step Three
The default setting is often pretty good, I find, so begin by simply pressing "Go". The noise removal will run (takes a few seconds), then you can click anywhere in the image to compare the original to the noise-reduced result.
If you aren't satisfied with the default settings, choose one of the other settings and press "Go" again.
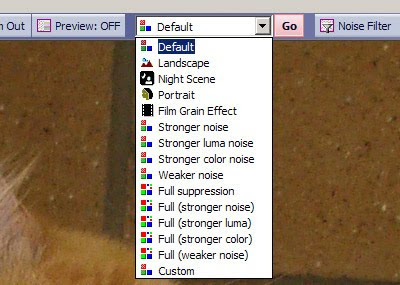
Generally speaking, I tend to choose a slightly too-strong setting, because I know I can reduce it a little in Photoshop.
Step Four
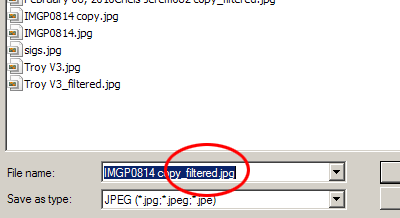
Press the "Save As" button to save your image. The program will automatically save it as a copy of the original file, with the word "filtered" in the file name, so there's no risk of saving over another file.
Step Five
Open the "filtered" jpeg in Photoshop. Now you should have two files open in Photoshop - the original photo that you opened and analysed before, and the new noise-reduced file.
Step Six
Copy the filtered image and paste it onto the original image.
Ctrl A, Ctrl C, Ctrl W, Ctrl V
(This means: Select All, Copy, Close, Paste)
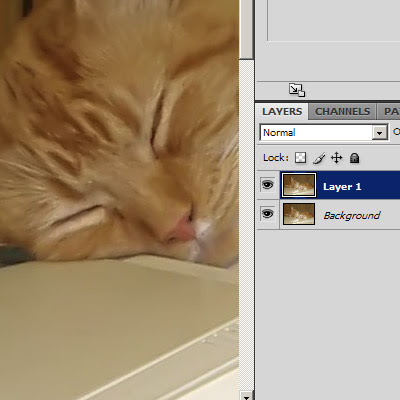
Then you'll have the filtered image on a new layer above the original image, like this:
Step Seven
If, like me, you've erred towards slightly too-strong noise reduction, you can reduce the opacity of the layer until you get a satisfactory result.
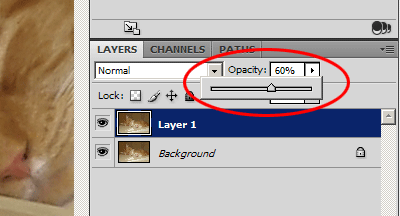
Remember to be viewing the image at 100% when you do this! (Or even 200%, if you have a modern super-high-resolution screen such as an Apple Retina).
Step Eight
Go ahead and proceed with your edit!
Step Nine
Make sure you delete the "filtered" jpeg that you made. I can't think of a single reason you'd need to keep it, because you've already transferred those pixels into your master file. The last thing you want is unnecessary files cluttering up your system.