I'm prompted to write this short post by a great question from David on the Ask Damien page.
"How would you go about making a storyboard with some 'effect' to its edge?"
This question follows my posts about storyboards and clipping masks (here and here). If you don't know how to make storyboards and collages and things, I encourage you to read those tutorials.
Ok, David, let's have some fun. This is the easiest way I know to do this, and I hope you love it.
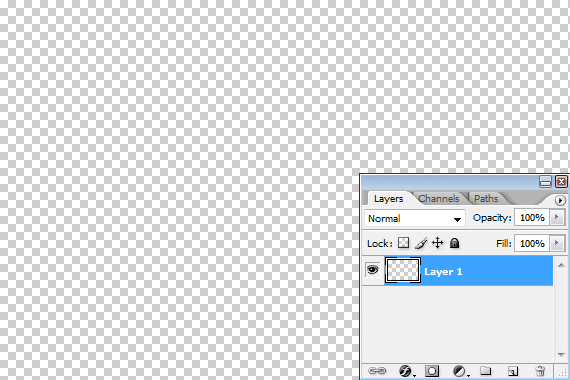
Of course, the first step is to decide on the size and shape of your document. I'm making a small one today. Here it is, my plain blank transparent document:
Brushes. That's where the fun is, my friend. Choose your brush tool, then find all the presets:
By default it'll probably be on "Basic Brushes". You can see there are lots of other brush libraries to choose from. And inside each of those libraries are dozens and dozens of different funky brushes. Honestly, you could use a different one every day, and have fun for a whole year.
I choose the one called "Dry Media Brushes".
When you choose a new one, it checks to make sure you want to load them, and remove the Basic ones. Of course you do. You can re-load the Basic ones afterwards. Press OK:
Then scroll through the brush options available in the library you've chosen. If none appeal to you, try another library, and so on.
I've chosen one called "Heavy Smear Wax Crayon":
Then, just paint. Scribble away and fill the space. Mine looks like this:
You know what to do from here. File>Place and place your photo, then clip it. Voila!!!
Of course, it needs a background, so I add a gradient layer behind:
And finish it off by adding some layer styles to the painted layer:
I hope you enjoy playing with this as much as I enjoyed writing it.


